
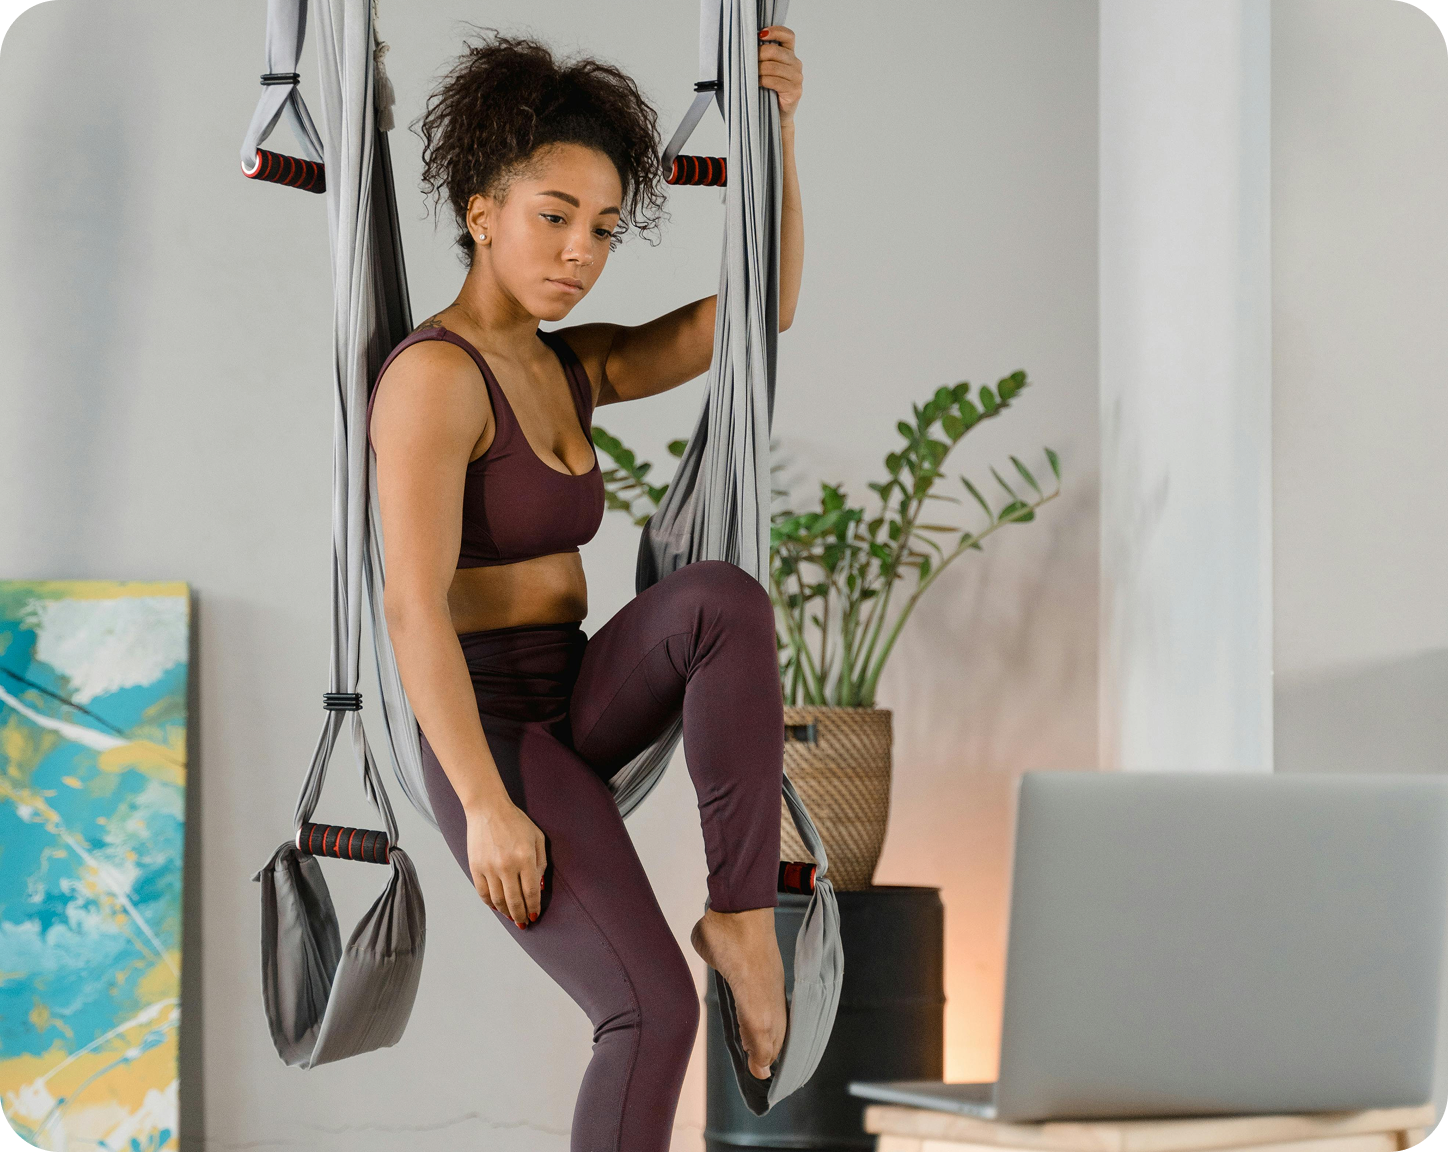
The yoga industry has noticeably shifted from a niche, mostly in-person practice into a multi-billion dollar (and highly digitized) global wellness movement. This digital evolution has changed how students discover and interact with teachers and their practice, making an online presence a fundamental part of a modern studio's growth strategy. While a physical space will always remain the heart of your community, a yoga YouTube channel acts as the digital bridge that connects your local expertise with a global audience.
As a studio owner, learning how to start a successful YouTube yoga channel requires the right balance of authentic instruction and smart production. When done correctly, your channel acts as a digital home that nurtures your existing students while attracting new ones to the practice and your community.
This quick guide will walk you through everything you need to get started, from selecting the right gear and tools to implementing content strategies that turn a global audience into a dedicated local community.
The steps to building a successful yoga channel on YouTube
First things first: Your yoga channel on YouTube should serve as an extension of your brand, mirroring the same quality and intention that students experience in your physical studio. In the digital world, your production value becomes a direct reflection of your professional standards, which impacts your brand and how prospective students perceive it.
To ensure your channel actually attracts subscribers and fosters a dedicated following, you’ll need to move past general filming and focus on the technical and strategic levers that keep your brand's promise of a high-quality practice.
Follow these direct steps to build a channel that prioritizes consistent brand quality and operational efficiency:
1. Define your yoga content pillars
To build a loyal following online, you’ll need to avoid random uploads and plan for a more structured content strategy, and that starts with defining your content pillars. Content pillars are the core themes your channel will cover and become known for. By defining these early, you ensure your yoga channel remains focused and that your subscribers know exactly what to expect from you.
For a yoga studio, your pillars should typically be a mix of the following three categories:
- Educational pillars: These videos focus on the "how" of the practice. You might create deep dives into specific asanas, such as a "Mastering your Crow Pose" tutorial. These build your authority as an expert and are often what new students search for initially.
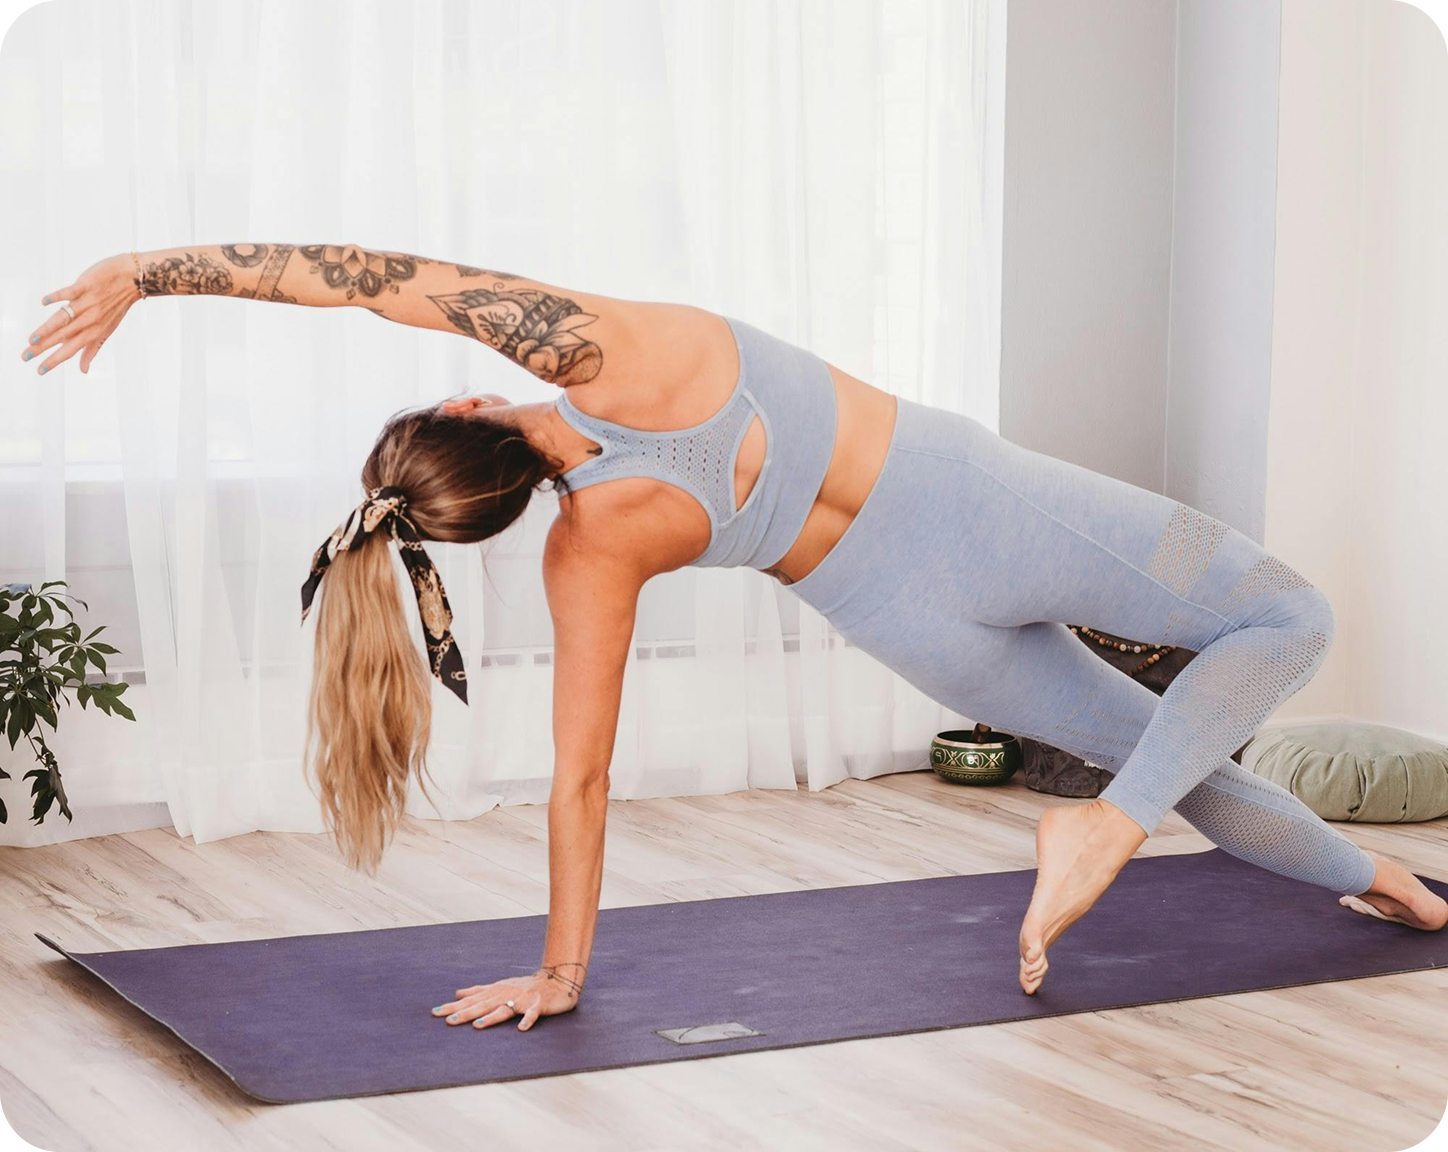
- Instructional pillars: This is your core offering. These are follow-along flows, ranging from a 15-minute morning stretch to a full 60-minute Vinyasa session, that allow students to experience your studio’s teaching style from home.
- Community and lifestyle pillars: These videos pull back the curtain on your studio. Content like "A day in the life of a studio owner" or "How to set up your home practice space" builds the personal connection that turns a viewer into a loyal community member.
The Strategy: Pick one "Primary Pillar" to be the backbone of your channel (e.g., Instructional flows) and use the others as "Secondary Pillars" to keep your content varied and engaging.
Take a look at this video which offers an instructional pillar example.
2. Establish your digital brand and channel setup
Before you upload your first video, you need to ensure that your "digital studio" is professional and recognizable. Your yoga channel should feel like an extension of your physical space so that existing students find comfort in the familiarity, while new subscribers immediately understand your professional standards as you continue to host online yoga classes.
Start with the basics:
- Choose a searchable, consistent name: Use a name that aligns with your studio brand. If your business is Lotus Flow Yoga, your channel should be Lotus Flow Online or Yoga with [Your Name] to remain recognizable. Avoid overly cryptic names that do not clearly state what you do.
- Write an optimized channel description: YouTube only shows the first two or three lines of your description in search results. Start with a clear value proposition that tells the viewer exactly what they will gain by subscribing.
→ For example: "I am Hanna, founder of Lotus Flow. Subscribe for weekly Vinyasa flows and mindfulness practices designed to help you build strength and flexibility at home." * Design for visual recognition: * Profile Picture: Use your existing studio logo or a high-quality professional headshot of yourself.
Then, get into the visual aspects:
- Profile Picture: Use your studio logo or a professional, high-quality headshot of yourself.
- Channel Banner: This is your digital billboard. Use an image that showcases you teaching in your studio and include text that states your upload schedule (e.g., "New classes every Monday").
- Visual Style: Keep your color palette cohesive. Earthy and neutral tones work well for Hatha or Yin channels, while brighter, high-energy colors are often better suited for power yoga or fitness-based flows.
Pro Tip: Include relevant keywords like "yoga for beginners" or "mindfulness" in your description. This helps the YouTube algorithm understand your content and recommend it to the right audience.
3. Create an essential gear checklist for filming and editing
The good news is that you don’t need a professional film crew to start a successful channel, but you do need to meet a baseline of quality that reflects your brand. In the digital world, your "studio" is the frame of your video. If the image is blurry or the sound is distorted, students will struggle to connect with your teaching.
For a yoga-focused channel, your gear needs to accommodate wide-angle movement and varying distances from the camera. Focus on these four essential pieces of gear to help build your production kit:
- A stable camera setup: Most modern smartphones shoot in 4K, which is more than enough for high-quality YouTube content. Always use the rear camera for better resolution and mount your phone on a sturdy tripod to avoid shaky footage. Also, ensure your tripod is tall enough to capture your full body while standing without cutting off your hands or feet in the frame.
- Wireless audio: Audio quality is arguably more important than video quality. Because you often move away from the camera or face the floor in poses like Downward Dog, a standard microphone will not pick up your voice clearly. This makes a wireless lapel microphone system, such as the DJI Mic 2 or Rode Wireless ME, a necessary investment. These mics clip to your top and ensure your cues remain crisp and audible no matter where you move on the mat.
- Lighting for clarity and mood: Natural light from a large window is ideal, but it can be inconsistent as the sun moves or clouds pass by. To maintain a professional look, consider a simple two-point LED panel setup. Position one light at a 45-degree angle to your front and another slightly to the side to eliminate harsh shadows and ensure your form is clearly visible.
- Accessible editing software: Editing is where you polish your content and add your branding. For beginners, you do not need complex cinema software. Apps like CapCut or iMovie are perfect for trimming your footage, adding royalty-free background music, and placing text overlays for pose names or "Subscribe" reminders.
Pro Tip: Before filming a full class, record a 30-second "test clip." Move through a few poses and speak at your normal teaching volume to ensure your framing is correct and your audio levels are clear.
4. Use AI tools to scale your yoga production
The most significant barrier to maintaining a consistent yoga YouTube channel is the time required for post-production. As a yoga studio owner, your schedule is likely already full. Fortunately, modern AI tools have transformed video editing and publishing from a days-long chore into an efficient, streamlined workflow.
By integrating these user-friendly tools, you can spend less time behind a computer and more time on the mat:
- AI-driven video editing: Tools like Descript allow you to edit your video by simply editing a text transcript. If you stumble over a cue or there's a long pause between poses, you can just delete the text or use the "shorten gaps" feature. The software automatically patches the video for a seamless result.
- Automatic captioning for accessibility: Many viewers watch YouTube videos on mobile devices with the sound off. Using AI tools like CapCut or Veed.io, you can generate accurate, animated captions in seconds. This ensures your teaching is accessible and engaging, even for those practicing in silence.
- Repurposing long-form flows into "Shorts": Maximize your effort by using AI to identify highlights from your full-length classes. Tools like OpusClip can automatically extract 60-second vertical clips from your videos. These snippets act as perfect 'teasers' to drive traffic back to your website or your premium video-on-demand (VOD) library."
- Smart thumbnail generation: Your thumbnail is the first thing a potential student sees. If your click-through rate (CTR) is low, it is often due to the thumbnail. AI design tools like Canva Magic Studio can help you remove backgrounds, enhance your studio’s lighting, and place bold, readable text overlays that attract clicks.
Pro Tip: Use an AI research tool like vidIQ to see what yoga-related questions people are actually asking. This allows you to tailor your video titles to match the exact search terms your future community is using.
5. Plan for community engagement and conversion
Creating content for your yoga YouTube channel is only half the battle. To build a loyal following, you must actively move viewers from passive watchers to engaged community members. On YouTube, engagement is the primary signal that tells the algorithm to show your videos to more people.
Focus on these three strategies to foster connection and drive studio growth:
- Foster two-way conversations: Do not just post and disappear. Reply to the comments on your videos, especially in the first 24 hours after an upload. Ask questions in your video. For example, you might ask which part of a flow was most challenging for the viewer to encourage a response. This interaction builds the trust essential for a yoga business.
- Use Calls to Action (CTAs) purposefully: Every video should guide the viewer toward a clear next step. Rather than a generic "Like and Subscribe," try a community-focused CTA. You could say, "If you enjoyed this flow, download our studio’s weekly mindfulness guide linked in the description below." This shifts the focus from your channel’s numbers to the viewer’s personal journey.
- Bridge the gap between YouTube and your studio: Your channel should act as a funnel. Use your video descriptions and the About tab to link directly to your studio's booking page, introductory offers, or a free trial of your video-on-demand service. By offering a deep dive experience off-platform, you turn global subscribers into potential long-term students.
Pro Tip: Use the YouTube Community Tab to post polls, behind-the-scenes photos of your studio, or simple check-ins. It is a low-pressure way to stay at the top of your subscribers' feeds without having to produce a full-length video.
6. Plan your monetization and distribution strategy
Before you record your first class, you must decide how your video content will support your business goals. While YouTube is an excellent tool for brand awareness, the most successful studio owners use it as a starting point for a deeper, paid experience. Planning your distribution early ensures that your digital efforts translate into actual revenue.
Focus on these three models for monetizing your content:
- The "Freemium" funnel: Offer shorter, high-quality flows or pose tutorials for free on YouTube to build trust with a global audience. At the end of these videos, invite viewers to access your full-length classes or a specialized series. This allows you to use YouTube as a lead generation tool while reserving your most valuable content for paying members.
- Tiered access and paywalls: Define the boundary between your free community gifts and your premium products. For example, a 10-minute morning stretch might stay free to attract new subscribers, while a 60-minute advanced workshop is locked behind a membership or a one-time credit purchase. This creates a clear value ladder for your students.
- Hybrid membership models: Create a specific "Hybrid" membership tier that includes both a set number of in-studio classes and unlimited access to your digital library. This caters to students who travel often or have unpredictable schedules, allowing them to stay connected to your studio from anywhere.
- Digital value-adds for in-studio members: Consider including access to your digital library as a complimentary benefit for your top-tier unlimited members. This significantly increases the perceived value of your highest memberships and helps with retention, as students can stay consistent with their practice even when they cannot make it to the physical studio.
Pro Tip: Use the "Pinned Comment" and "Description" sections on YouTube to link directly to your paid offerings. This creates a clear path for a casual viewer to become a recurring digital subscriber.
Finalizing your yoga channel on YouTube
Building a successful yoga channel on YouTube is a journey that starts with a single flow but grows through consistent, high-quality engagement. By adopting a strategy rooted in clear content pillars and modern production tools, you can create a digital home that serves your yoga students 24/7. This transition from a local teacher to a global guide allows you to expand your impact while keeping the heart of your community at the center of everything you do.
This process is most effective when your digital and physical operations are synced. bsport is an all-in-one studio management and marketing platform that acts as the operational backbone for your entire business. By integrating your YouTube or VOD content directly into your member app, the platform automates the routine admin tasks that often slow down growth. This gives you the real-time data needed to optimize occupancy and scale revenue while you focus on what matters most: teaching your students and nurturing your community.